The first tip I have for the dormer windows is to put them in before you shingle or otherwise finish the roof. They won’t fit otherwise.

The jumble of parts that will become the dormer window.
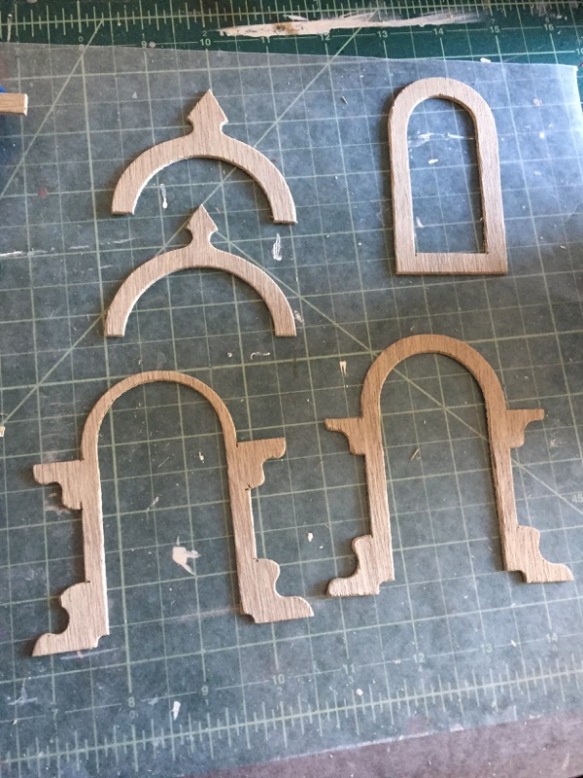
The front (left) and front trim (right). The trim has the thicker arch. Above those are the half-circle trims (which will be glued one on top of the other), and the window sash.
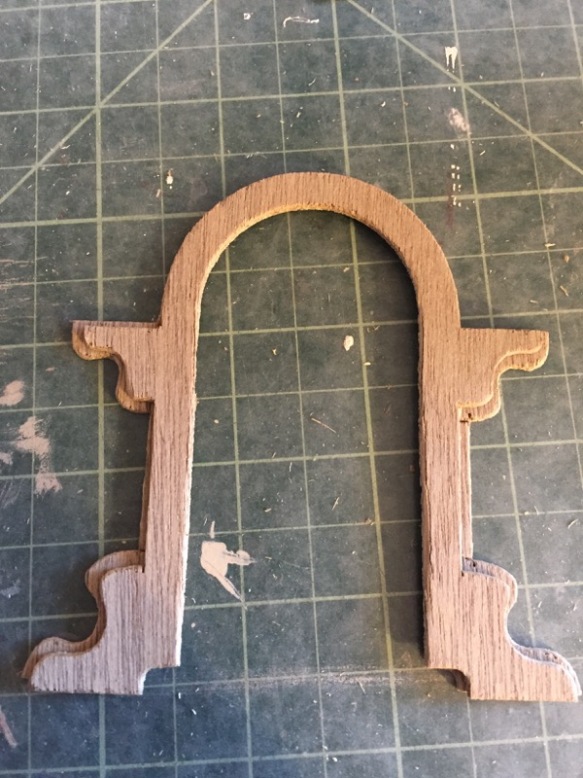
Trim glued on top.

This is the back. The window sash will fit exactly in the little groove.

Like so. (This is what it will look like from the front.) Don’t glue in the sash yet! This is just an example of what it will look like. The sash will be the very last piece glued into the window.

Sill / base. The two sill / base pieces are glued one on top of the other. The piece with the tabs on its sides is the bottom (I’d show you, but this sill was already glued in place, which I did beforehand so I could wire the lamp through it).
The sill goes all the way through the opening, with the narrower sill on the inside wall, the larger sill on the outside.

The side slides down beside the sill, the notch at bottom hooking up to the tab on the bottom of the sill (which you can’t see, but it’s down there).

The side in place–it will be flush against the inside wall.

With both sides in place, I added the front. The feet of the window front fits (in theory) into the notches of the window sill. Notice I had to take off shingles to get everything to fit.
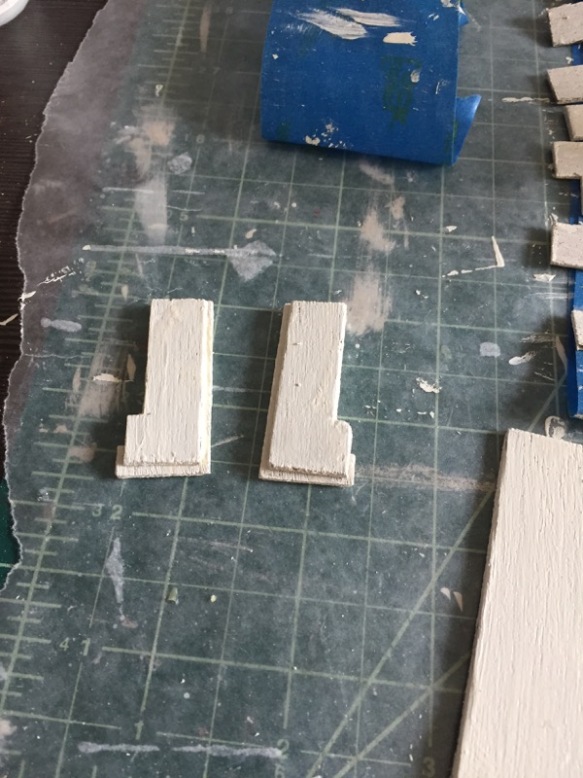
The L-shaped pieces. They’re glued together so the inside edge is flush.

I’ve added the L shaped pieces to the tops of the front. The short sides of the Ls face inward.

What the Ls look like from the top.

Now for the arch. There are eight pieces that will be glued in around the window’s arch. The first piece is in position here.

What the first piece of the arch looks like from inside. The end is flush with the inside wall. (The piece should be more on top of the side, but it slipped.)

Put the pieces in on alternating sides. Here you can see I’ve done the first pieces on both right and left sides, and the second piece on the left side. Note that the end of each piece rests on the window’s top. The edges will be covered by the half-round trim.

As you go, you’ll see that the pieces start to angle. That’s ok. The last piece will be trimmed to fit. Note that I’ve put the “good” side on the inside. That is because I knew I’d be sanding and repainting the outside once done, but it will be much too hard (and messy) to repaint the inside. So the other side of these boards are finished and varnished already.

The last piece, sanded to fit. These sand down easily with coarse sandpaper (say 100) on a sanding block.

Once I had all the pieces in place, I sanded then spackled the whole arch to smooth out the edges and make it rounder.


Next, I glued on the top trim (which I sandwiched together earlier–the feet should be flush and the smaller piece centered on the larger).

I glued the plastic window to the sash (I’m using Alene’s clear tacky–little dots around the window sash). Now the sash can be glued, from the inside, to the grove in the frame.

And there you have it. I’ll have to put in the shingles and add trim around the window a bit, but it’s done.

Both dormer windows now in place.
Next, the tower window! Good. I’m getting tired of windows! 🙂

Thank you so much for the step by step pictures! I could not figure out where the L-shaped trim pieces were supposed to go. I know I am on the right track now! Kathy
I’m glad it was helpful! So many pieces, and the instructions are vague.
What a great job! My fiinishing product was not as neat as yours.
Pingback: Beacon Hill Left Side: Windows! and Shingles | Jenn's Mini Worlds: A Dollhouse Miniaturist's Blog
I really love seeing the progress. Thank you so much for sharing. The house Is beautiful!
I really like the depth of those dormer windows and the fact that you can place items on the sill, really adds another layer to their overall charm!