The second floor slid into slots in the walls, Interior walls glued in place.
The second floor slides through the doors on the second floor to create small balconies. Holes will receive the railings later.
The second-floor rooms wallpapered.
Upstairs front window in place. One reason I liked the look of this house is the picture windows on the second floor. The mini people can look out at their beautiful view.
Doors to the balconies are also done.
Side windows (same on both sides). These were tricky–each has three interior and three exterior sashes and three window panes. The overlaying frames, fortunately, were all one piece.
Baseboards in place in the three rooms.
The rooms also have corner moldings between wallpaper and wood wall.
Next–back to the first floor to add ceiling cornices. Then on goes the roof!
Once I had the stonework (scribed wood sheets) on the walls I was ready to glue the walls together. Handy slots in the first floor position the exterior walls, starting with the front.
I continued adding walls all the way around until the house’s shell was put together.
The interior walls in place, plus I have stained the plank walls. The kitchen cabinets set in to make sure the interior wall is positioned correctly.
Next I added the foundation.
Now for the fun. Painting the stonework!
I did not have access to all the recommended paints and wax for the stonework (supply chain issue rears its ugly head). I used Deco Art clear Creme Wax as an undercoat and then spice brown and light ivory craft paints.
Basically, you paint everything with a coat of ivory, then when that’s dry add a coat of cream wax and let dry. Then a thin coat of brown, which you wipe off (highlights the mortar lines). Then you dry-brush dab dab dab on ivory and brown with a sponge brush. I went back and forth between colors until I liked it. I thought at one point to add some light gray, but it looked muddy so I went back to white and brown.
This photo shows how the stonework turned out. Then I masked it with masking tape and painted the siding Evergreen.
After that it was time for wallpaper and windows.
This kit comes with plenty of wallpaper, so if you don’t want the board walls, there’s enough to cover the whole room. You can always use your own wallpaper for a different look. The short sheets of wallpaper in the kit are for the first floor and the larger sheets for the second floor.
The first floor windows and door that I had painted and stained before I left my real-sized mountain house.
Each window has two casings that fit into the window openings, with thin plexiglass between them (the blue squares are the top left are the plexiglass with protective plastic). Then a frame for the outside and a frame for the interior wall.
The large downstairs window finished and framed. (I will be touching up paint later!)
Small downstairs window. This is the kitchen window from the outside.
Downstairs room finished with interior window frame and baseboards.
Kitchen with window frame. No baseboards here because the cabinets will cover the walls.
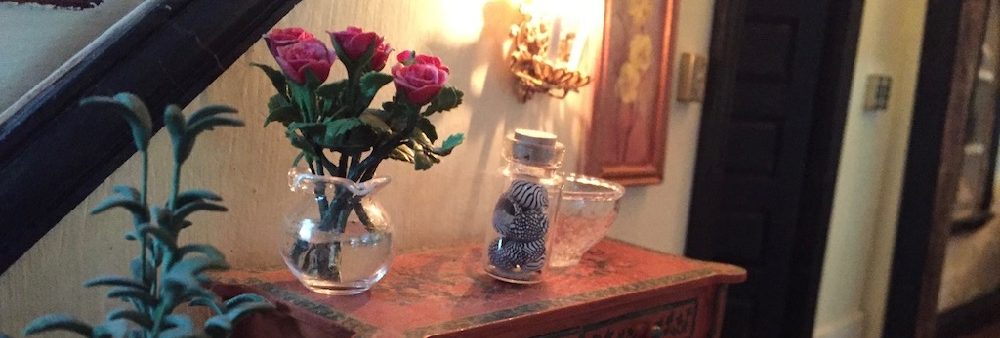
Entrance with fireplace glued in, baseboards and front door installed.
First steps are to pre-assemble the stairs and the kitchen cabinets. The stairs are rustic and open, so easy to fit the steps to the stringers. I stained the staircase before glueing it.
A square is best to assemble the cabinet shell. I wanted to paint my cabinets, so I did not stain the before assembling.
The shell of the bottom cabinets assembled with the drawers and doors matched to each one.
The lower and upper cabinets roughed together and painted.
I wanted a granite-looking counter so I painted the countertops gray and then spattered ivory, black, darker gray, and metallic silver over them using a toothbrush (my thumb got very messy). I like how they turned out. Bigger blobs I carefully painted over but a few I left.
The kitchen cabinets and appliances ready and waiting for knobs and to be installed in the house. You can see where I did my spattering!
Next, the walls.
The kit’s instructions have you gluing the walls to the first floor (the stained piece in the picture) and then using contact cement to put on the stonework and siding. I don’t like contact cement (toxic, stinky, and if you don’t get it right the first time there’s no give), so I used wood glue.
That meant I had to apply the stonework and siding, plus the wood plank interior walls before I put the house together. The siding etc is very thin, so will warp. I used many clamps and weights to make sure there was no warpage, and it turned out fine.